Thanks to my friend and yours, the interwebz, I've found that with 45 minutes and four ingredients (five, if you count water) you can have fresh mozzarella!
Anyway, on to the good stuff! My friends: an introduction to soft cheese making.

1 Large Stock Pot (should hold over a gallon)
1 Slotted Spoon
1 Digital Thermometer
1 Long Spatula or the like (needs to reach the bottom of your pot)
1 Strainer/Colander
1 Microwave Safe Bowl
Kitchen Rat/Assistant - Optional
Ingredients:
1 1/2 tsp of Citric Acid
1/4 c of Water
1 Gallon of Whole Milk
1/4 tsp of Vegetable Rennet
1 c of Water
1 tsp of salt (rough estimate - salt to taste)
Certainly you can find Citric Acid wherever you can find canning supplies. Rennet is a little more difficult, but is easy enough. A lot of places where you can gets craft beer supplies will carry rennet. If you can find either, live somewhere remote, or just want to do what I did, you can by them here and here.
To begin, measure your citric acid into your stock pot. Add 1/4 c of water to dissolve the acid granules. Then add the milk. Over medium heat, bring your liquid up to 90 degrees. Your milk might start looking slightly curdled. This is totally normal. (You'll want to do this slowly, so you can control the temp. If the mixture gets too hot, the cheese curds will compact, causing you to have firmer, smaller cheese.)
 Remove your pot from your heat source. Measure out a cup of water and add the rennet in the same
measuring cup. Then add it to your milky mixture. Stir swiftly for 30 seconds. Slow the motion to a stop with your spoon.
Let the milky mixture sit for five minutes.
You have now created Little Miss Muffett's BFF: Curds and Whey. The curds are the white part and the slightly yellowed water is whey - which is FULL of protein.
Once your five minutes are up, grab your long handed spatula-esk tool. Make a grid of your now slightly solid milky mixture. Return your pot to the heat. Heat the whey up to 115 degrees. Again, slowly to control your temperature.
 Once you reach your desired temp, remove your pot from its heat source. Using your slotted spoon, separate your curds into your strainer (which can be placed over your microwave safe bowl).
You now have a HUGE decision to make. Okay, not really huge, but you do have a fun decision. At this point, you can dump your whey and get that giant pot out of your cooking space. OR, you can save your whey and use it for cooking, or baking. I've heard you can use the whey for an additive to baked goods, though I don't currently have a recipe for you, since I am TERRIBLE at yeast cooking. Though I intend to get better at it... and then blog about it.

Back to the Cheese:
Shake your strainer and remove as much excess whey as you can. Dump the whey from your microwave safe bowl. Put the almost cheese into the bowl and heat it on high for one minute in your microwave.
When it comes out it will be super hot, but start to look a little smooth. Dump the whey from the bowl and pick up your almost cheese. Squeeze it and begin to knead it together.
Return the almost cheese into the microwave safe bowl and heat for 30 seconds on high. Once this is done, pull out your cheese and dump your liquid. Add salt. Again, crazy hot (be careful). Fold the almost cheese together a few times. Pinch off some of the soon to be cheese for a taste. Does it need more salt? Add some in!
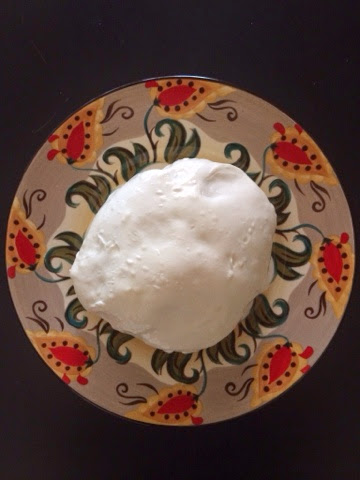
Throw it back in the microwave for another 30 seconds. Continue to dump the liquid and knead the cheese. It will actually start to take shape like the picture. If your cheese feels a little lumpy, go ahead and microwave it for 30 seconds again. If you cheese feels super smooth and starts to turn itself into a ball, assist it into the shape. Then put it in an ice bath.
Be patient for 10 minutes.
Now, my friend, you have cheese! Dress it with fresh herbs, olive oil, pesto, balsamic glaze, slice it, add it to pizza, or just take giant chunk out. Mostly, enjoy it!
No comments:
Post a Comment